LIVING, Recipes, baking-in-france, baking-in-the-vendee, bread and hot chocolate, bread. home-made bread, European style milk bread ingredients, home made bread, homemade bread, how do I make bread, how to bake bread, how to bake brioche style bread, I-love-baking, is milk bread just brioche, milk bread, why is milk bread so good, wintery bread
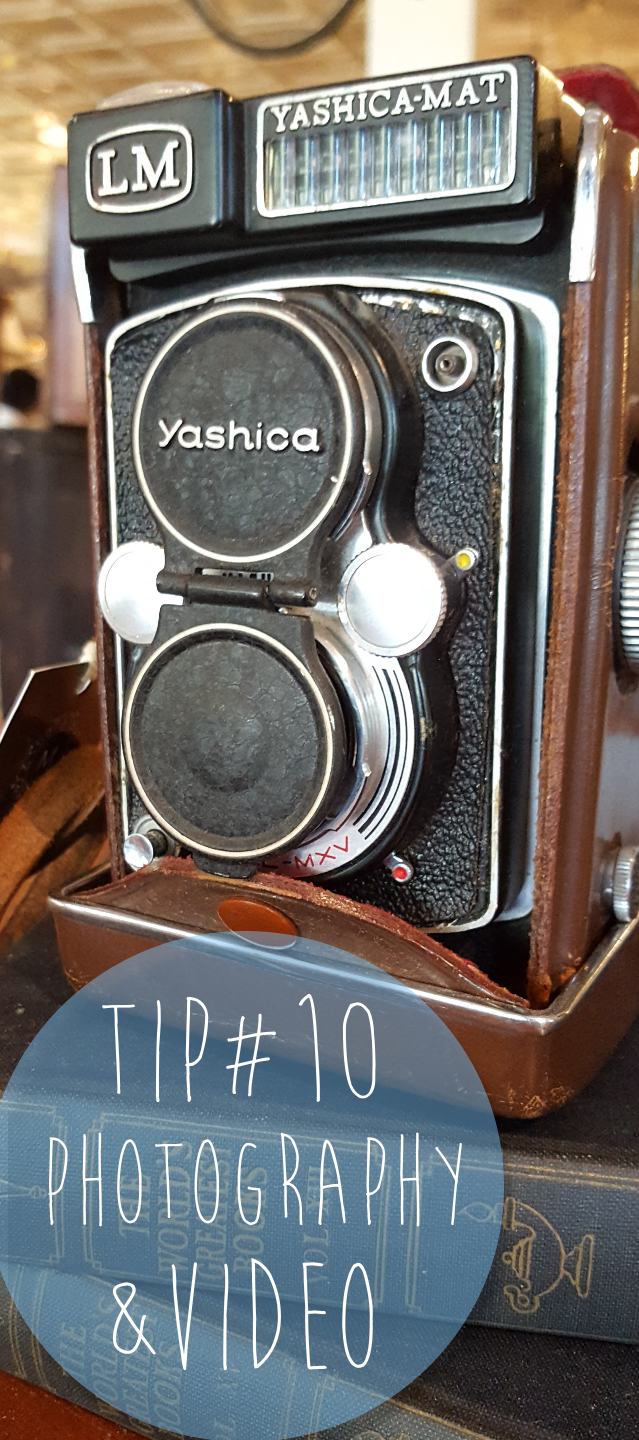
Present your business with GOOD images! PART 1: food
Imagery can cause an instant click in the web-user's mind. Time and time again. It explains why travel -and food photography has become so important online. Do you feel like that's not you? We don't want you to worry! There are simple things you can do to raise the visual impact of your online business platforms, social media and/ or website. They are, after all, the windows to your services. Our tips and tricks are especially written for people who feel overwhelmed by the digital side of the business. They will help you to bring various shop windows from amateur, to professional; and help boost your picture repository to use for months to come!
Good photography is a powerful business tool. It's also FREE!
Summer is an ideal time to get started.
Summer is an ideal time to get started.
Introduction to our tips and tricks
As mentioned in our ebook "23 Effective Marketing Strategies for your Hospitality Business" (we're giving it away!), we mention that psychology is very much a part of the picture for our online presence. If button colours are important to make people click on certain content, how do they feel about images, the colour-tone in images, and from food, to landscapes, to places to stay... how consumable is the product?
No matter the format of your online business presence, whether Facebook, Instagram, and/or a website, the goal is to represent your business or services with good quality images that
- showcase your area (Vendee)
- and/ or showcase your product (hospitality business or actual products)
- evoke a positive emotion (can be through colour scheme, subject, abstract, humour...)
- tell a story (your work, history, architecture, food, landscape, life event)
- or place you in that story (selfie, family picture)
- fit snugly into the space where they are used without absorbing too much bandwidth (the fancy word for this is image optimization)
THE Rule of Thumb!
A digital window is no different
from a high street window!
A digital window is no different
from a high street window!
If you had a shop, or bar, or restaurant, or a hotel on the high street... would you not make ensure the windows are sparkling clean, that there are flower boxes and/or an inviting window display?
Let's turn the tables... as a consumer standing before a restaurant with a dirty, seemingly neglected exterior, and right next to it a restaurant with gleaming windows, jolly umbrellas and flowers galore... be honest with me! Which one would you choose?
In the digital world where photography is a key feature, a business represented with dark, unfocused/ blurry, irrelevant, tiny, grainy and badly adjusted images... is the equivalent of a dirty window in the real world.
How is that for a metaphor? Does it put things in perspective? Good! Evoking an emotion can go either way... negatively or positively.
Present the (potential) customer or guest with lots of pixels, good light, and depth. Give them images that, in a glance, will imprint on their brain. Make them feel like they are on holiday already. Like they want to eat your food. Like they want nothing more than to see your handmade ornament in their Christmas tree.
How do you do that? To be fair, it helps to have a top quality camera or smartphone. The latest technology is astounding. Camera's are computers, with built-in GPS, bluetooth and WiFi capabilities. Snap to Instagram in seconds, with longitude and latitude information. Smartphones and Iphones now have more pixels than my Nikon camera!
Do you need top of the line equipment? No. If you're in the market for a new camera or cell phone, you can easily get away with last year's model for much less. In our geeky household we never buy the latest and greatest. We love a gadget as much as the next person, but it's much more important to:
- know what the negatives are
- let them work out the software bugs
- have a tool in the toolbox that functions to high standards for years to come, without breaking the bank
But not to worry! Using what you do have, paying attention to light, angle, and composition, will go such a long way! Personally, I haven't updated my cellphone in 4 years, and my camera in 5 years. And while I can clearly see that it's T-0 hours to replace my tools, I can make do a little while longer. I just need to improve my skills.
Part 1: Food Pictures
Fortunately with digital cameras or (the more recent) smart phones, the sky is the limit. The key is practice. Trial and error. But in full season, time is of the essence! Here are a few simple tricks to bringing food images from blah, to mouthwatering. At the end, there is an exercise.
1. Light, composition & storytelling
- Pretty plating with that extra touch (a dash of this or that for decoration purposes)
- Clean plate (contrasting colours is also nice)
- Clean background (food splatters, dust... clean it up!)
- Storytelling: the food itself is, of course, the story, but you can add to it by giving the background texture or placing it in situe. Storytelling is not just about words here; online it also means drawing the web user into the context of your business visually. They will imagine themselves there, eating this, drinking that.
- Placing: in front of the light. In photography terms this is called back-lighting. Find a window and place the plate e.g. on the windowsill, or a table by the window. Natural light through a window is wonderful because it softens the image/ shadows while highlighting the food. The light should come from behind the plate (back plus side is also works.)
- An even more professional alternative to place a product tent placed against natural light and a video light (window back, video light side - though on a very sunny day you can probably get away with just sunlight)

Example #1 is a good example of what not to do. Look at the shadows, the light source is located on the side of the photographer, probably indoors. While there is some depth and texture, the image doesn't tell a story, and the colours sort of blend together. That doesn't mean it wouldn't be a nice image to use e.g. to create an advert if your business is to sell an ecological cleaning product based on oranges.
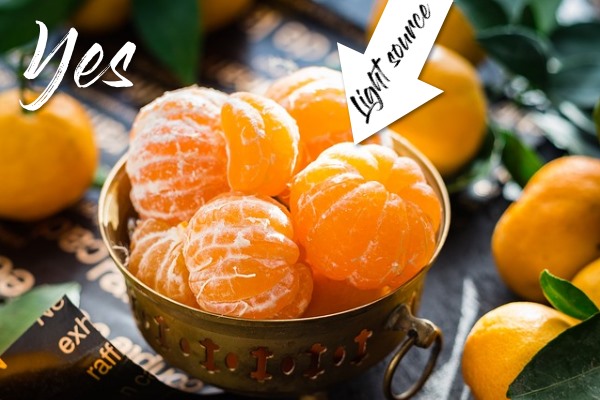
In example #2, the light source is correct. The peeled clementines are the focus, the background provides interesting contrast, there is blurr. The image even tells a story of sorts. But we have to speculate. What is happening here? Are the clementines an after-school snack for hungry children? Is the photographer hard at work making marmalade? In this case words and hashtags should clarify the story further.
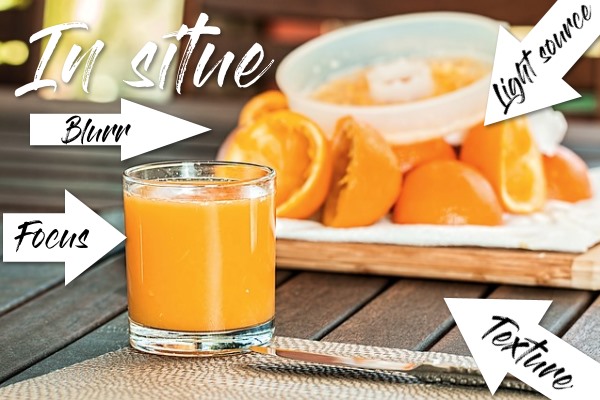
Example #3 places the fruit perfectly in situe. The user is presented with everything at once. The picture is also interesting to examine more closely. Assume you're looking for a B&B. This image tells a story of freshly squeezed orange juice at breakfast. It invokes curiosity too. We might be served outdoors, or in a sun room, or an indoor-outdoor situation. Words and hashtags will explain the rest.
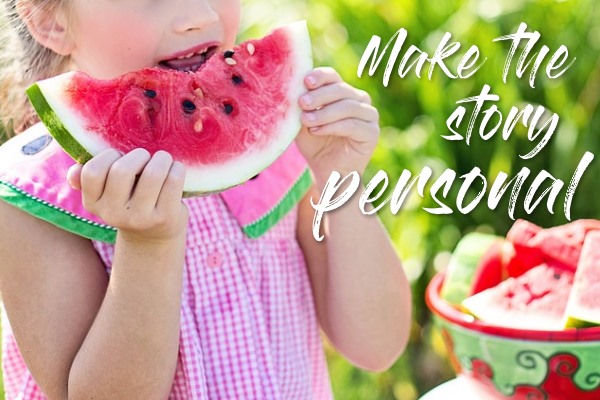
Example #4 By placing people, animals or yourself in the story, we can relate to it more. The light in this picture is not perfect, but it's good. The image shows action. It invokes a lot of feelings: summer, camping, freedom, wholesomeness, family, playtime, picnic, love. Importantly it does all of that while protecting the child's privacy.
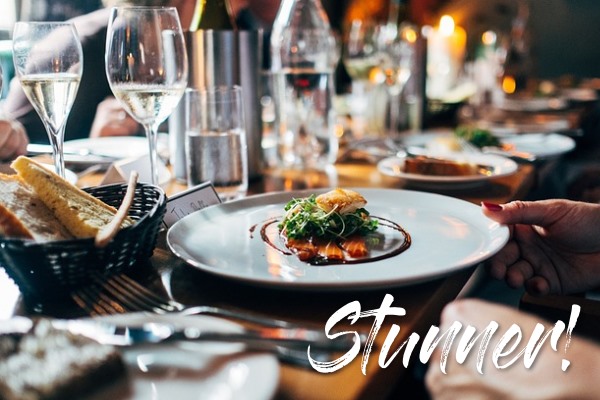
In example #5, is as close to perfection as it can be. At the moment. The food on the plate is in focus and is back-lit with natural light, creating a lovely blurr. Despite the blurr, the scene is lively and atmospheric. It is inviting. Without sound, it lets us hear laughter and conversation and the sound of cutlery against china. It is also trendy.
2. Exercise
- Create a food scene, observe the angle of the light.
- Where are the shadows?
- Walk all around the scene.
- If your camera has a "scene" feature with the little fork and knife symbol, try that to focus on the food.
- Zoom will create blur.
- Too much zoom will rob the image of pixels and light.
- There is no need to use the flash (ever).
- The back-lighting will be sufficient.
- Experiment with the time of day.
Retain the images that conform to these rules. With a pool of usable images, you will be ready to promote seasonal items, specials, or to blog about your products/services for months to come. (e.g. 20 usable images x 1 post per week = almost 4 months!)
With these tips in mind, practice makes perfect!
3. Advanced: product tent
We don't want to make this post too complicated, but we do want to take the opportunity to show that by using a product tent it is possible to enhance the look and quality of your food pictures even more. These types of images can also be used to upgrade your menu cards. While it might seem intimidating to use a product tent, remember there is a learning curve to everything. Allow yourself to grow by going through the exercise, practicing the tips and tricks explained in section one. When you're ready to try this next step, you will know!
What is a product tent and how much does it cost?They are cubes, like a tent, that lets the light filter through for a soft look. They are quite inexpensive. come with different colour backgrounds (white, red, black and royal blue) which can be attached in the tent. If you're in the market for one, we recommend taking advantage of "Black Friday" sales (second half of November to early December) on Amazon.fr... I have this tent [red. no affiliate] which cost around 20 Euros.
And we're almost done! Keep reading for a quick explanation of the next few product tent images, which I shot while making chili.
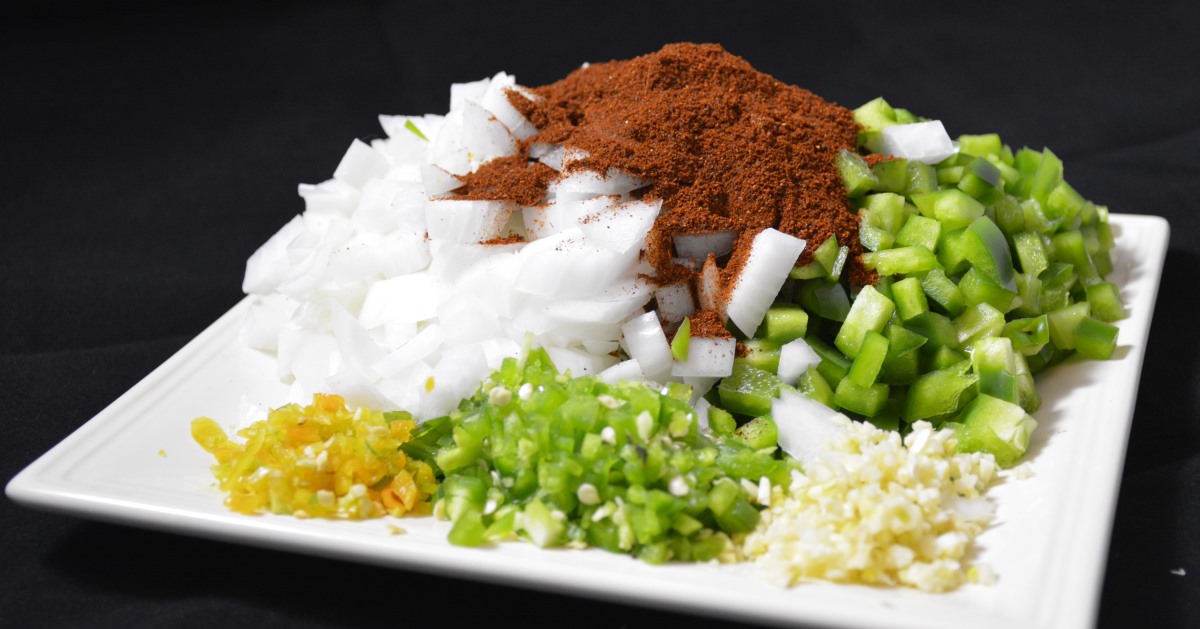
This series of images are a nice example of food product photography. We won't get technical about manual camera settings like F-stop etc. To get started, the auto/ food setting on your camera or (good) cell phone will do.
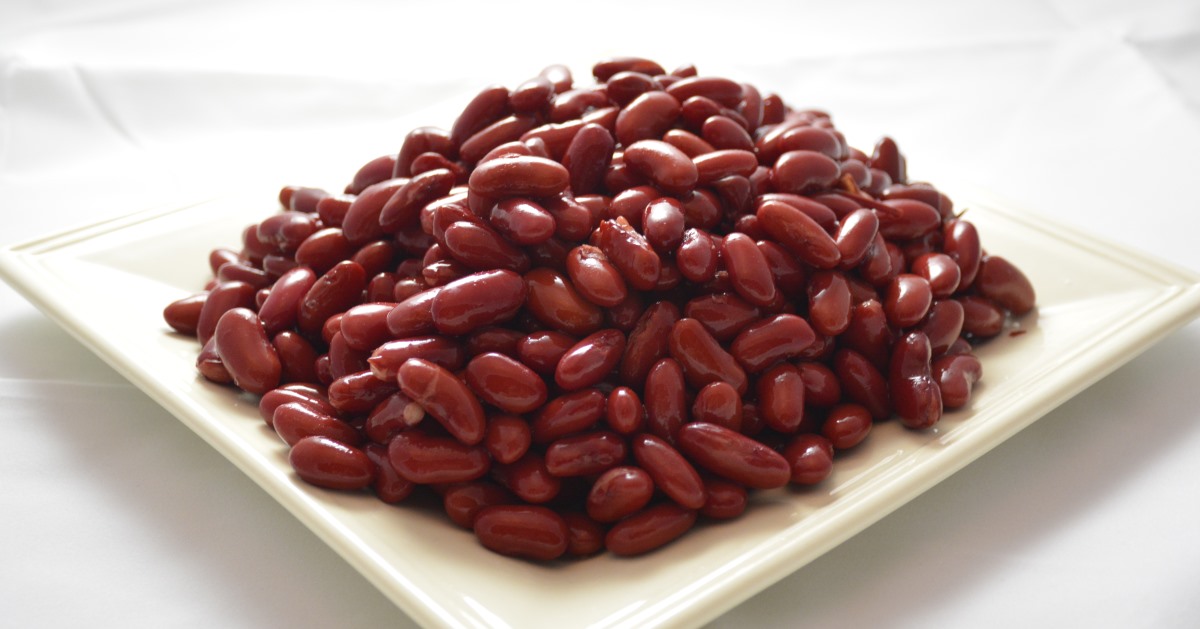
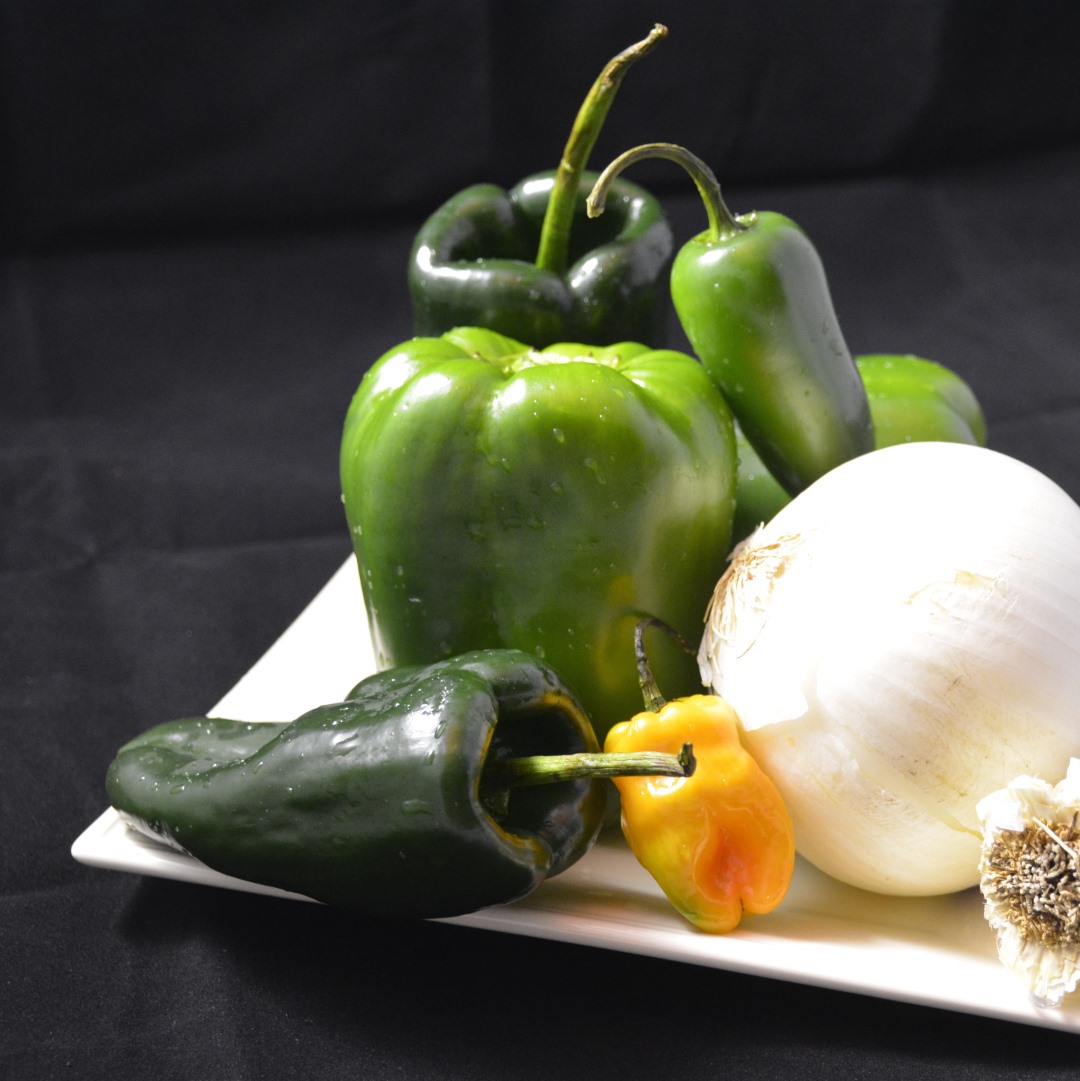
The first two images show how the light effects a white and a black background differently. The white one reflects the light, creating a softer look. The kidney beans are properly back-lit. Black won't let the light through, but the sides and top of the tent are not covered. Can you determine where the light source is located? From the ingredients' shadows it's easy to see the light originates on the left/back. It's back -and side-lit. The black background appears to contain the light in the space.
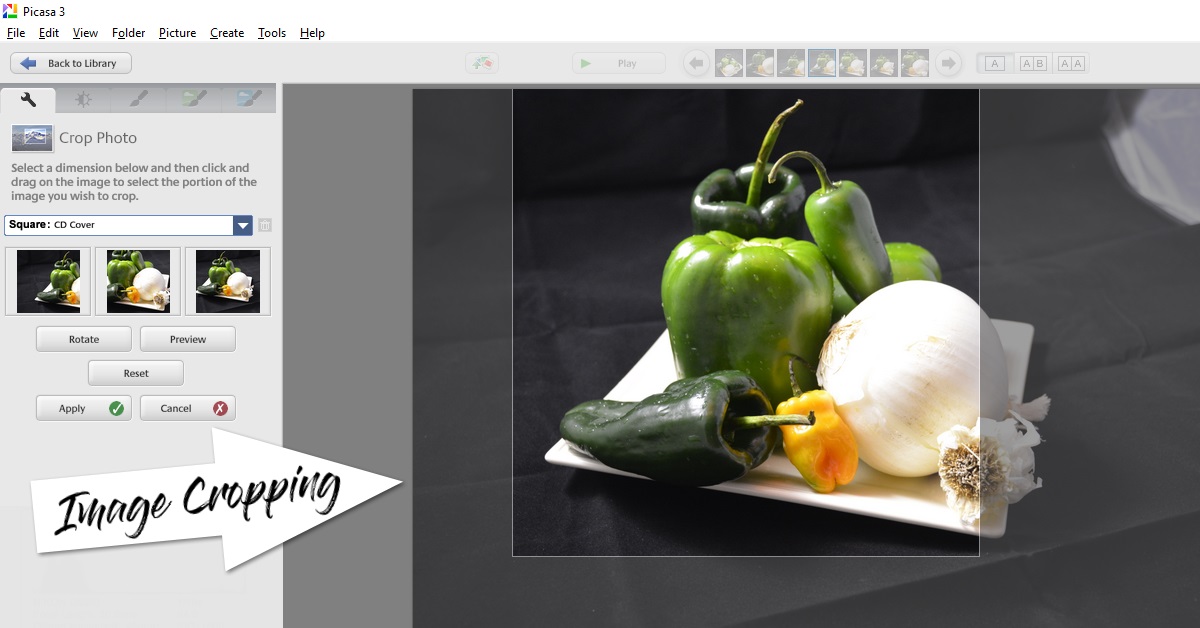
The next two images show the original picture, and the result after the image was cropped to size. Even though these pictures were taken in the comfort of my own home, once I go through the process of cropping, the end-result looks quite professional. Agreed the creases could have been steamed out of the background fabric but that's an easy fix in the image optimization process.
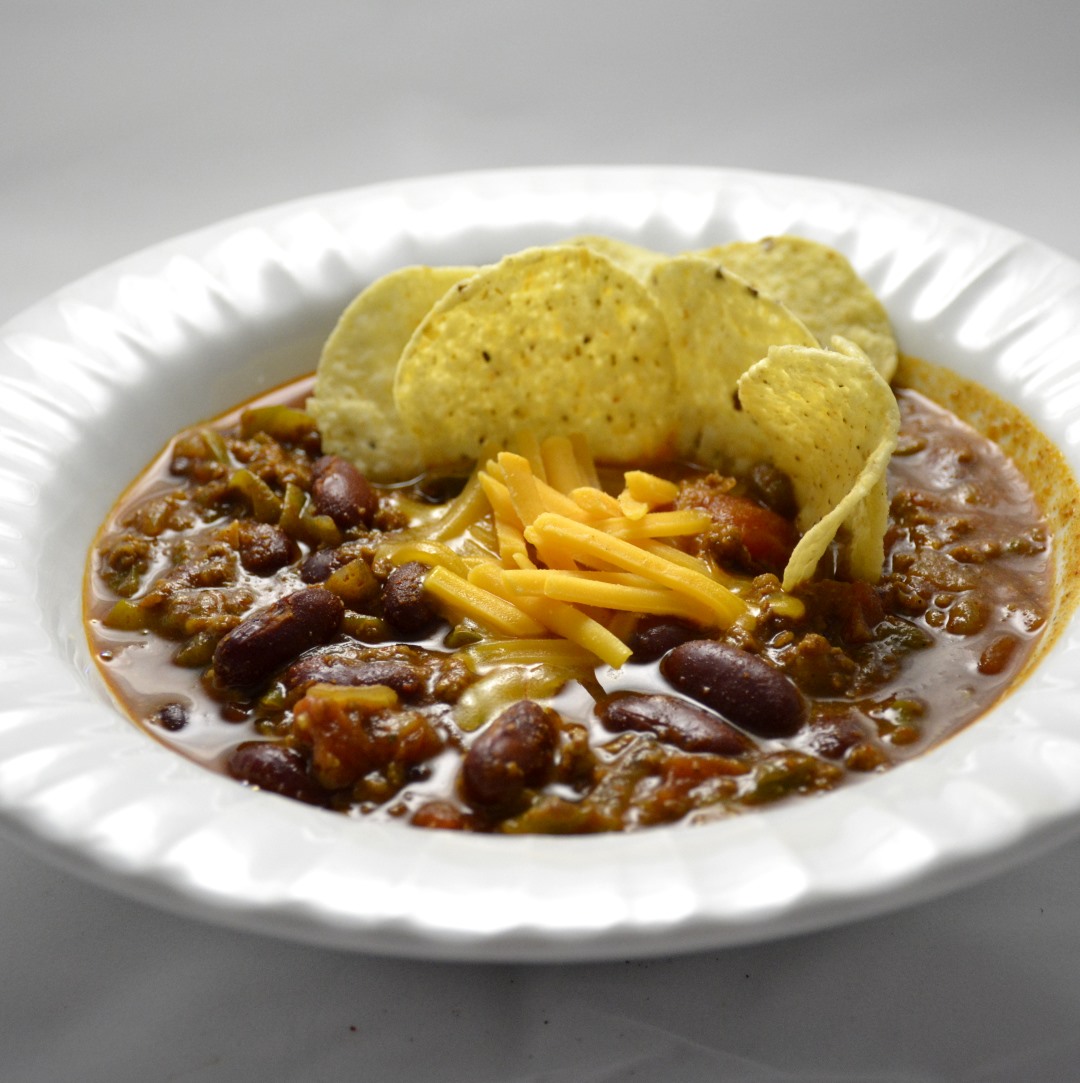
The final image presents the plated product. Because the chili is red, the white background works better for light reflection and presentation. But there is a mistake! Can you find what it is? Does it mean the image is not usable? NO! It would simply need to be cropped differently.
The images in section three show more than product tent photography. They have already been cropped and web-optimised to suit my website and/ or social media posts. In Part 2 of our Marketing Strategy #10 Photography Tips and Tricks, we'll use a different subject to explain more about composition and image optimization for misc online platforms.
Until then, have fun practicing!
Share this Post